Installation Process
Authorized ForeverLawn Dealers follow a ten-step process for installing the ForeverLawn product to ensure that every installation meets our highest standard of quality. Our trained professionals give each installation their focused attention. Although there are always some nuances with each installation, the following guidelines are used for reference and consistency.
1. GROUND CLEARING
The first step in the installation process is to clear the ground of any covering or debris. A clear base is vital to the long-term quality of our installations. For existing lawns, this may include removal of sod, rocks, gravel, etc. Although new construction installations will not require the same time commitment during this phase (and therefore are typically discounted), time is taken to ensure that the ground is clear of any remaining construction debris, or obstructions.
2. BASE HEIGHT
The second step in our installation process is to ensure that the installed product will be at the desired finish grade. This requires that the initial base be at approximately 3″ to 4″ below finish grade. Depending on the current conditions, any excess soil is removed and discarded, or fill is brought in at this time.
3. GRAVEL SUB-BASE
Next, 8 minus crusher fine gravel is installed to create a stabilized sub-base. The crushed gravel is brought in and spread to create a base approximately 3″ thick. The gravel sub-base is used to give a solid base for the product while still allowing for drainage.
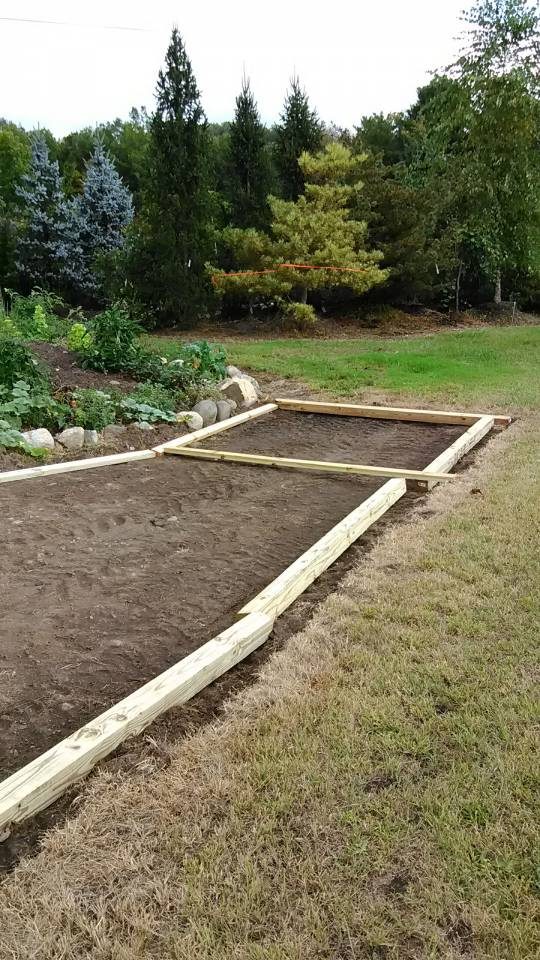
Ground clearing 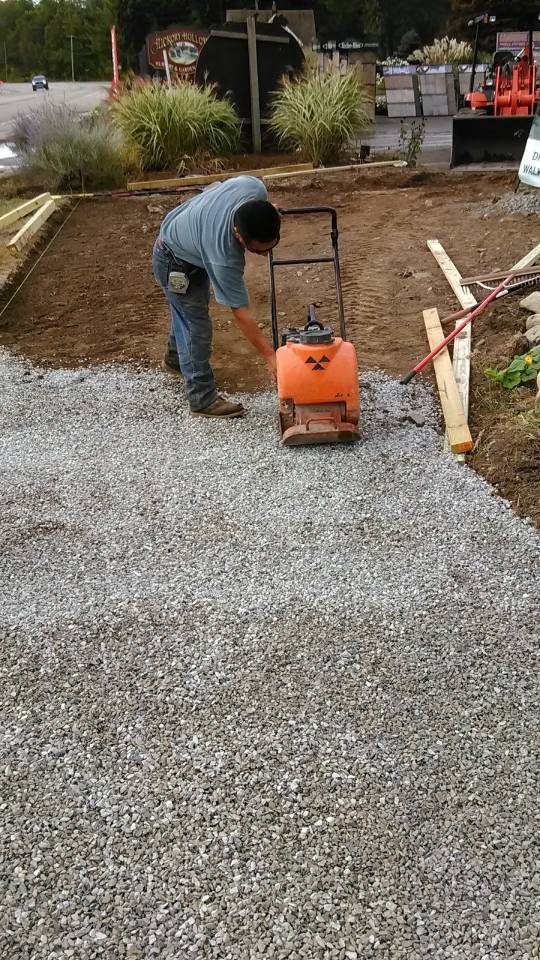
1/4″ crushed gravel sub-base 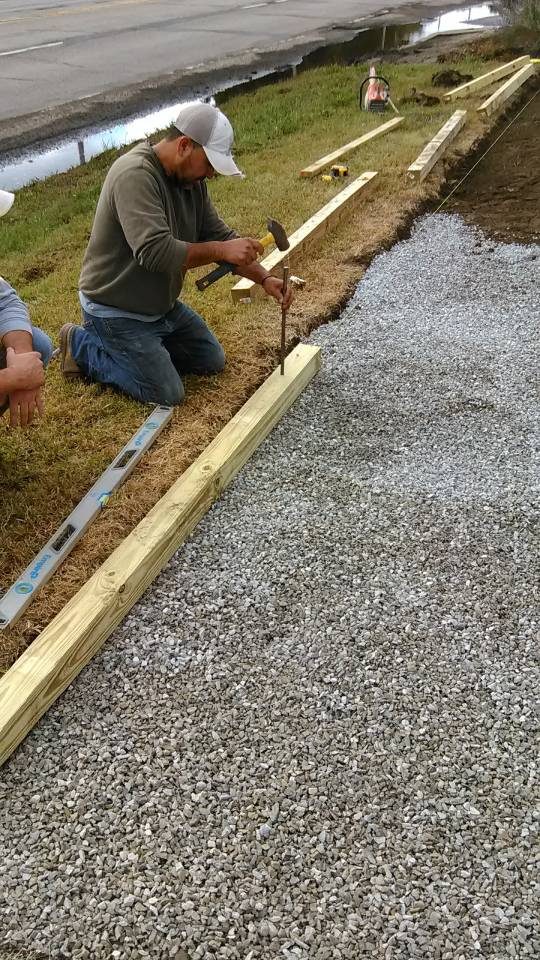
Spike in the frame 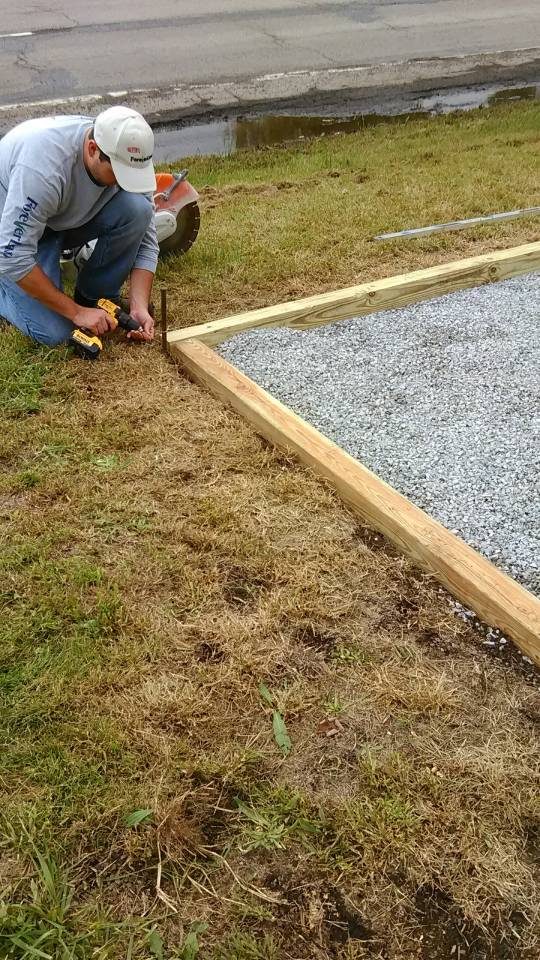
Staple the corners together
4. GRADING
Now the crusher fine is graded to meet drainage requirements as well as customer desires. This step allows us to determine the exact finish level of the grass, as well as prevent areas of water build-up or improper drainage.
5. COMPACTING THE BASE
A plate tamper or roller is brought in to compact the base. Water is sprayed over the gravel prior to tamping to ensure proper compaction and to reduce dust. The goal of this step is to reach 90% to 95% compaction. The compacted crushed gravel sub-base is then given time to dry and checked for inconsistencies prior to proceeding.
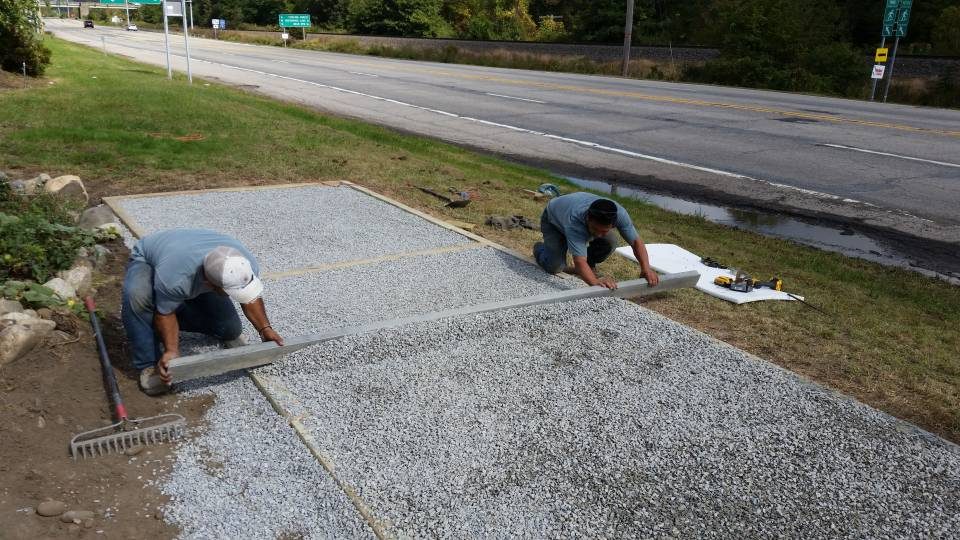
Level the base to the frame 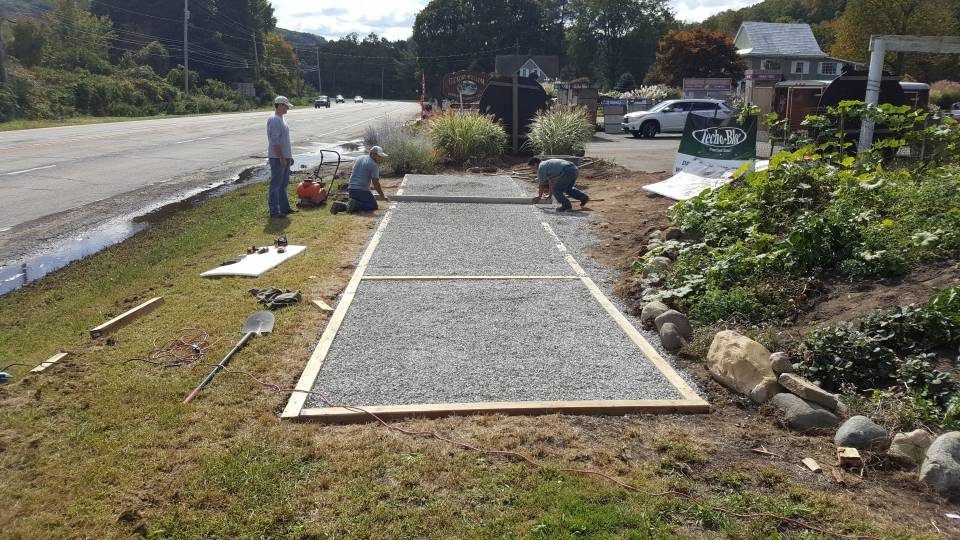
Level the base to the frame
6. FOREVER LAWN LAYOUT
The ForeverLawn turf rolls are brought in and laid out. ForeverLawn comes in 15-foot-wide rolls. Our professional installation team will lay the grass out in a manner that will best fit your lawn. Due to the natural direction of the grass blades, the turf must all be laid out in the same direction. Therefore, it is very important that this layout is thoroughly thought out before cutting begins.
7. CUTTING THE GRASS
This phase is where the turf is trimmed to fit your yard. The product can be cut around your existing landscape whether it is a perfect square, or a winding path that is bordered by rocks.
8. SECURING AND SEAMING
We secure the turf by staking the edges with 6″ galvanized landscape spikes. The spikes are inserted through the turf and into the base at 6″ intervals around the edges and more frequently along the seams. Once installed, the seams (where two pieces of ForeverLawn are joined to create widths greater than 15 feet) are virtually invisible and very durable. Much of that is due to the seaming process, which uses our new, proprietary micro-mechanical bonding system. No glue is required in this method. This eliminates the seam failure you are likely to have with glue over the next 10 years and beyond.
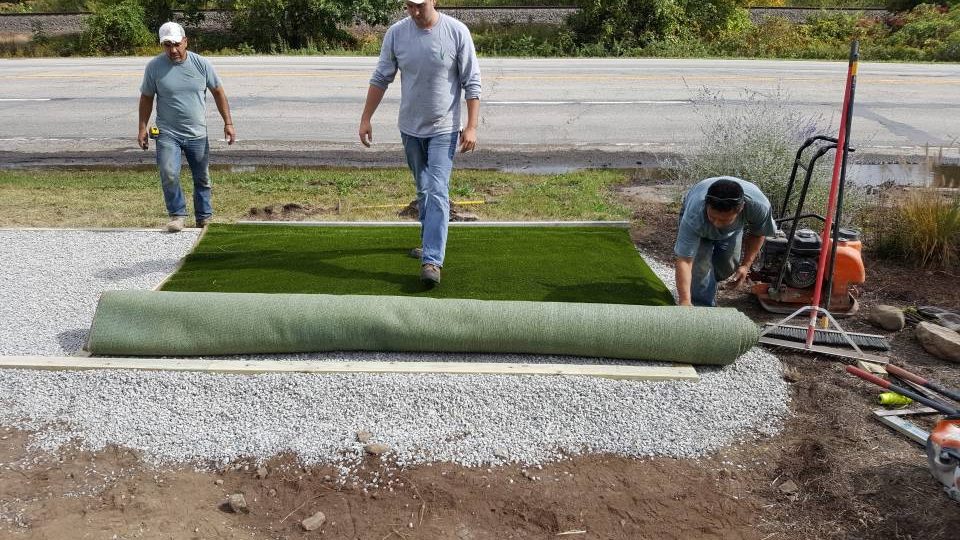
Roll it out to determine the size 
Turn it over to make a cut. After it’s sized staple it in.
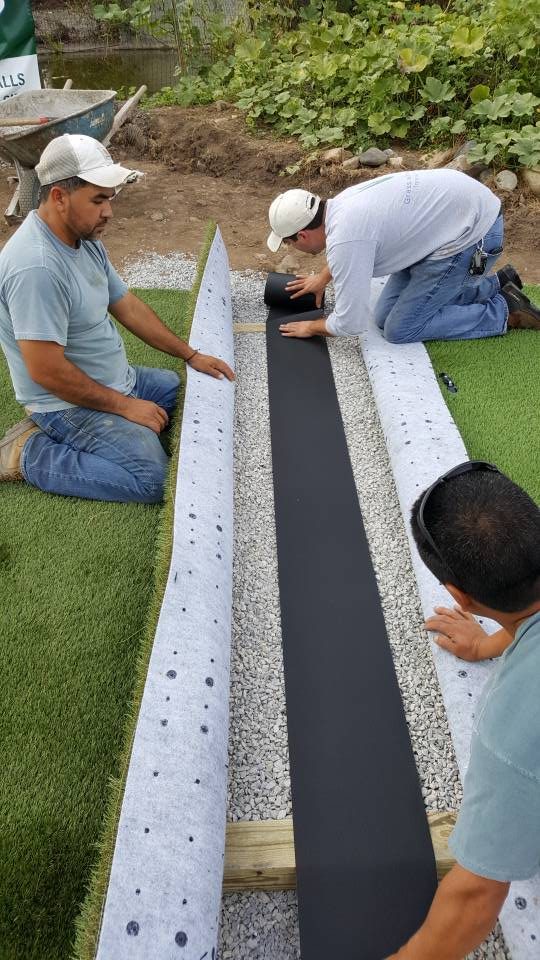
Rollout the velcro tape 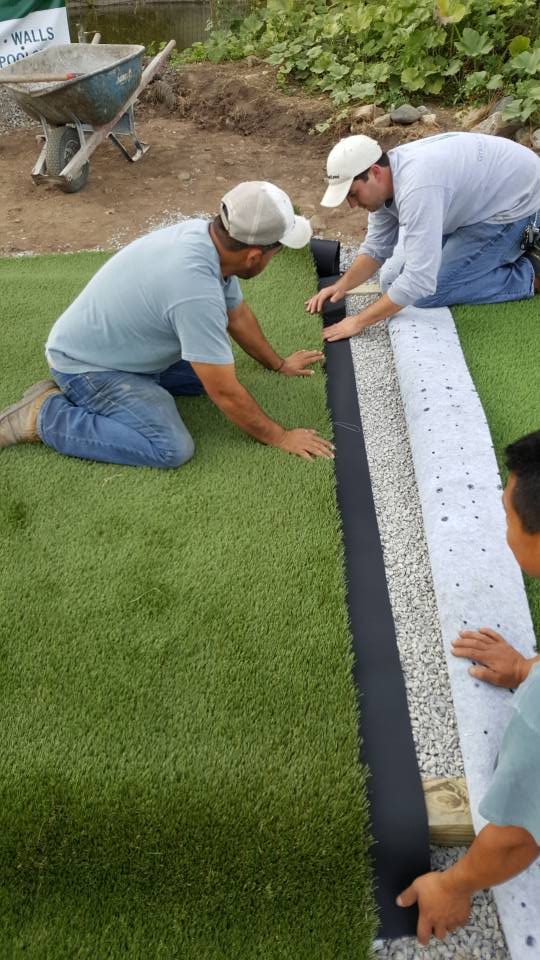
Center the velcro 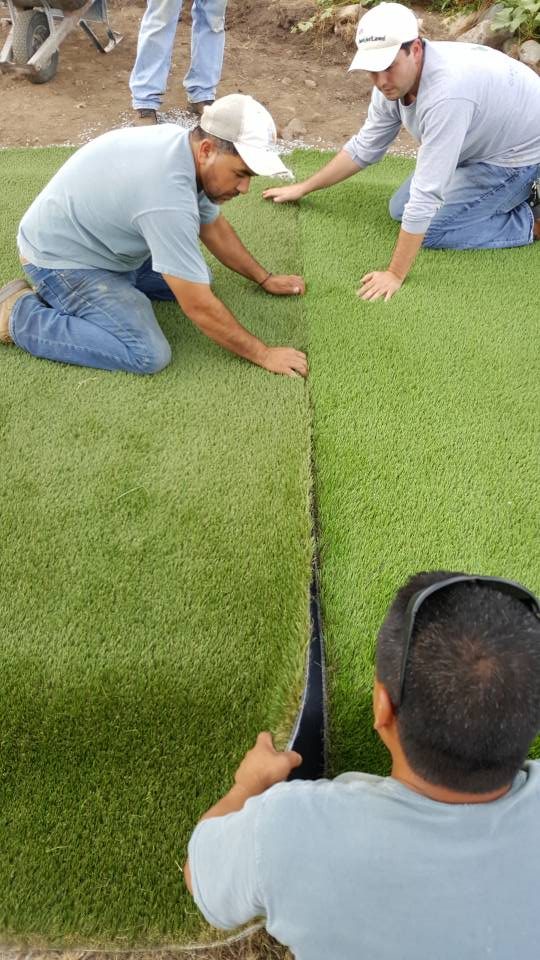
Make sure it’s lined up 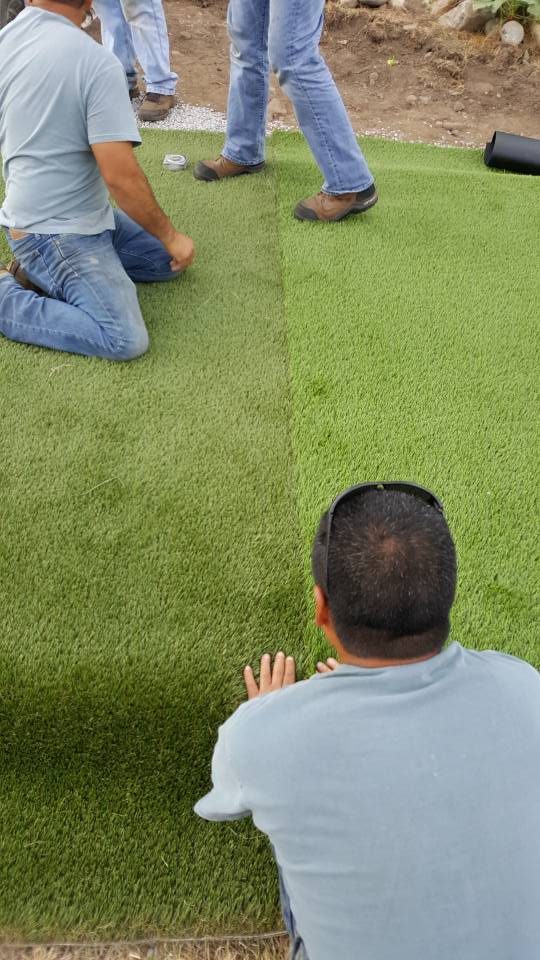
Smooth it out by hand
9. SAND INFILL
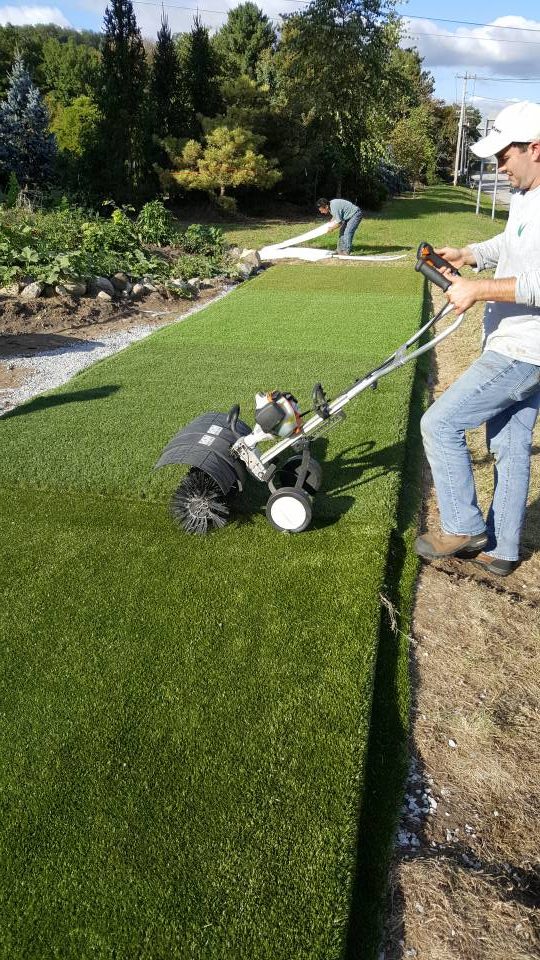
Approximately one pound per square foot of the cracker-mill rubber is spread out over the turf, and worked into the base of the grass blades using a power broom. The all-rubber infill stands the grass blades up and cushions the product. No sand infill is needed as our product has dimensionally stable backing. When sand is used, it is primarily to act as a ballast to support the grass. Our reinforced backing eliminates that need and enables us to use 100% rubber; which is less abrasive and softer.
10. CLEAN-UP AND POWER BROOM IT OUT
No job would be complete without the proper clean up. You can use a blower, rake, brush or broom to clean up the grass, as well as water.
Grass without limits.


